The quick setup for the guest page allows you to quickly and conveniently set up your wedding guest page with minimal effort. It is designed to streamline the process and get your guest page up and running in no time. Here’s a tutorial guide on how to quickly set up your wedding guest page:
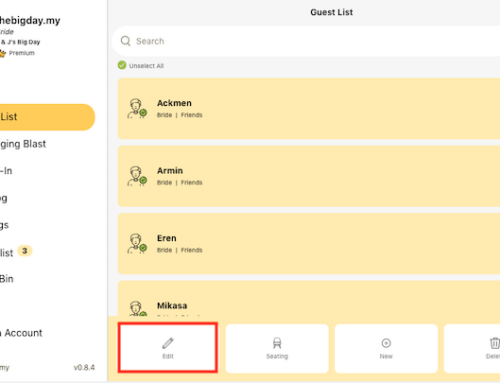
- Access the Guest List module from the side menu.
- Navigate to the “QR Code” section.
- Click on the “QUICK SETUP” button to initiate the setup process for your guest page.
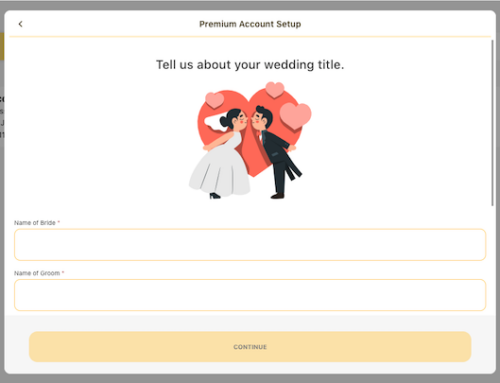
- Review your wedding details displayed on the screen and ensure they are accurate. Click the “CONTINUE” button to proceed.
- Next, review the guest page settings. You can customize options such as showing the number of guests, displaying seating information, showing the group member list, and more.
- If needed, you can upload a PDF or image file as an attachment on the guest page.
- Select a preferred wedding theme that suits your style and preferences.
- If desired, you can upload a background image to personalize your guest page further.
- Take a moment to review or edit the greeting message that will be displayed on the guest page.
- Once you’re satisfied with the settings and customization, click the “CLOSE” button to complete the quick setup process.
Congratulations! Your wedding guest page is now set up, and you can start managing your guest list, seating arrangements, and sharing important information with your guests.